The Quickest,
Easiest Sourdough
Bread Ever
Welcome to one of the only places where you can have a fresh loaf of sourdough bread in less than a day!

Hi there!
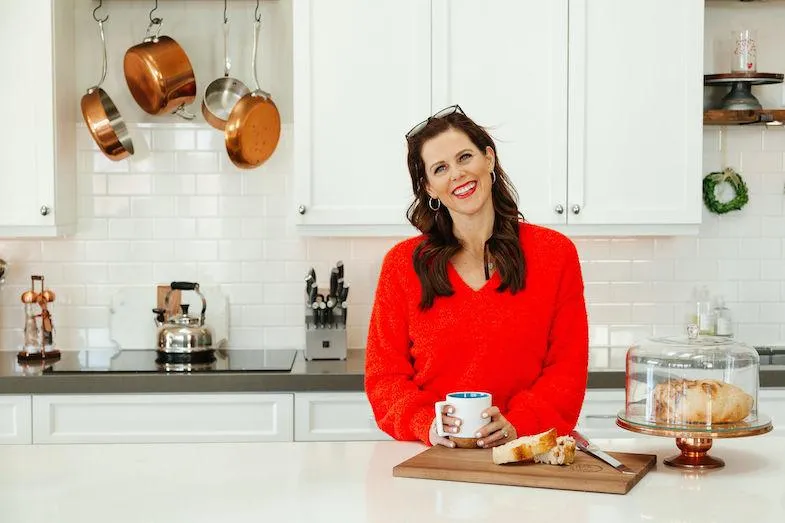
I'm Charity Lighten
Are you ready to make sourdough?
Welcome to my world of sourdough bread baking!
I'm absolutely thrilled to have you here!
Let me personally introduce you to the pure joy of creating your very own artisan sourdough loaves.
I am convinced that I have the easiest, quickest sourdough recipes you'll find!
Whether you're an experienced baker or just starting out, my aim is to equip you with all the tools, resources, and inspiration necessary to embark on this extraordinary journey.
Together, we'll master the art of nurturing and maintaining a vibrant sourdough starter and explore a myriad of recipes and flavors.
Get ready to witness the transformative power of a few simple ingredients as they come together to create the most heavenly loaves of sourdough bread you've ever tasted.
So, let's roll up our sleeves, dust our hands with flour, and embark on this delightful adventure together.
Happy Baking!
Lorem ipsum dolor sit amet, animal utamur id nec, clita doming oblique usu cu, utroque omittam ex sea inani eleifend.

Classic White Sourdough
CLASSIC WHITE SOURDOUGH
150g starter
300g water
10g salt
450g flour (I like half all-purpose and half bread flour)
THE PROCESS
Step 1: MEASURE and MIX the dough
I use a Kitchen-aid mixer. Starting with the starter, add the salt, water and flour all together in a bowl. Using the dough hook, mix the dough for about 5 minutes and then cover the bowl with a lid or a plate.
Step 2: PULL and TURN
Let the dough rest for a few minutes and then wet your hand (so that dough doesn't stick to it) and pull the dough up from the side and gently push it into the center. Give the bowl a one-quarter turn and repeat: stretch the dough upward and fold it over toward the center. This will help to improve the dough and enhances the oven rise. You’ll want to do this a few times within the first hour. Experts recommend 4 times within the first hour … I try to at least do it at least twice (about 5-10 minutes apart)
Step 3: BULK RISE …also known as the first rise..this will take 6-8 hours for your dough to roughly double in size. Keep in mind, you can do this “too long”, or over-proof, where the rough rises to its capacity and then starts to drop. You’ll want to make sure to shape your dough BEFORE this happens
Step 4: SHAPE the dough.
Gently pour your dough onto a floured surface and shape it into a ball. Your goal here is to create a nice tight “gluten skin” around your loaf. Keep in mind that the bread will take on the shape that you form …meaning if your dough is shaped a little lop-sided, your bread will bake a little lop-sided. So do your best to shape it in a uniform matter (I have a video in my highlight bubble on my Instagram to show this). Line the Dutch oven with parchment paper and let it rise in there (with the lid on)
Step 5: SECOND RISE will take roughly two hours …in warmer temperatures, it can be slower, or it can take longer in cooler temperatures.
Step 6: PREHEAT the oven. Many recipes recommend that you heat your Dutch Oven before adding the dough. I found that this was quite a cumbersome step. I use to get my oven as hot as it will go (500 degrees) and then lower it to 420. I have since eliminated even that step, and now I just turn my oven on to 420 degrees for baking. (You'll have to get a feel for your own oven.)
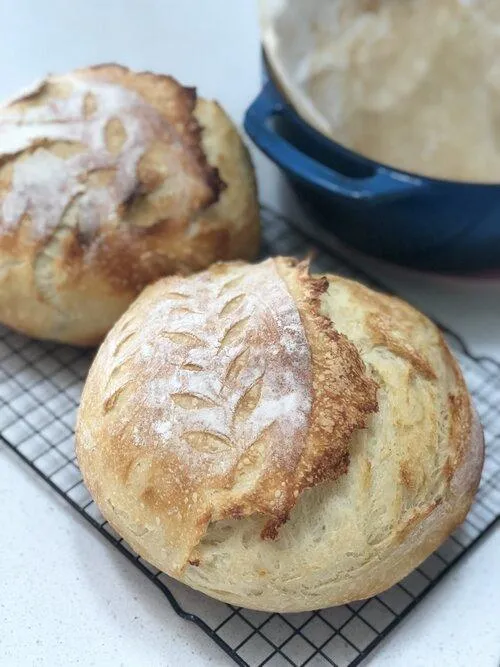
Step 7: SCORE your dough using either a very sharp knife, a razor blade, or a lame. To really enhance the design, I recommend putting just a little flour over the surface of the bread before scoring
Step 8: BAKE the bread in the Dutch oven at 420 degrees for 45 minutes. Remove the loaf from the Dutch Oven (I just use the parchment paper to pull the loaf out) and place it right on the rack in the oven. Brown the crust for 3-6 additional minutes. Note: if you want a softer crust, don’t brown it too much. If you want something crispier you can leave it in the oven for a few extra minutes.
Tip: The most expensive part of baking bread is having the oven on for so long. I recommended getting a second Dutch Oven so that you can bake 2 loaves at once (the bread freezes great). If your mixer is large enough you can double the recipe. After mixing, separate the dough into two bowls (each about 900g) and follow the normal procedure.
If you want bread in the morning, mix the dough and let it rise overnight. You can form it in the morning, let it rise for 2-3 hours, and then bake. Alternatively, you can mix the dough in the morning, to let rise during the day, and bake in the evening. Just keep in mind you will need 6-8 hours for the first rise and 2-3 hours for the second rise.

